This post is specifically for those 9 ladies that plan on taking the Hexagon Table Topper Quilt "class" at Dot's on Tuesday, November 7.
In order to maximize our evening and to allow you to go home with a completed flimsy, please bring your two stratas to class that evening. You will also need your sewing machines.
You will need to purchase:
6 different fabrics for the strips on the front or top- Many of the ladies are making this a Christmas project so if that is your plan, choose 6 Christmas fabrics. You will need sufficient yardage to get two 3 inch strips from each fabric. Please do not purchase fat quarters. This is not a fat quarter friendly project.
1 fabric for the backing - this can be one of the fabrics from the front of the project or choose something different. This project is reversible when complete so consider something nice for the back that you may want to display before or after Christmas like a winter-like fabric that is not necessarily Christmas. This way when Christmas is over, you can flip your table topper over and get use out of it for the rest of the winter.
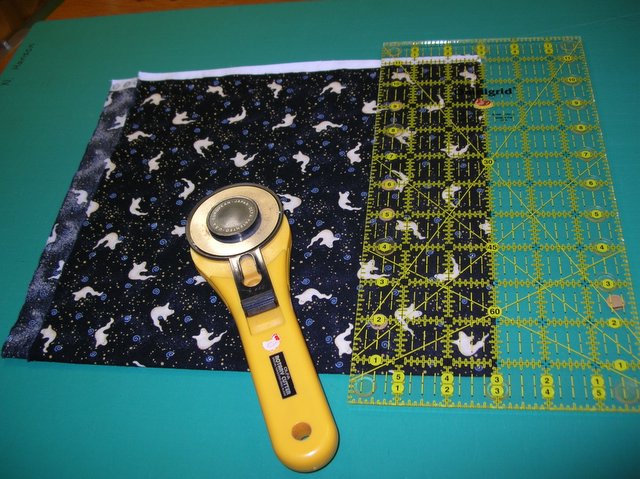
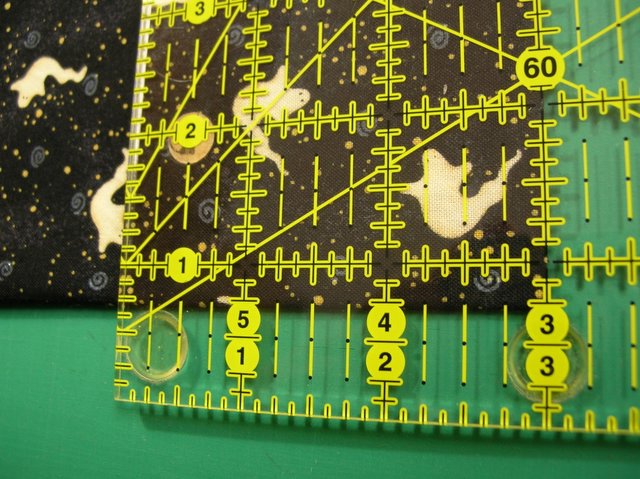
Step #1 - Cut your 6 fabrics for the top of the quilt 3" wide (these strips will finish 2 1/2" wide) by the WOF (width of the fabric). Your strips should be 40+ inches long by 3" wide. You will have 12 strips on your table when you are done cutting.
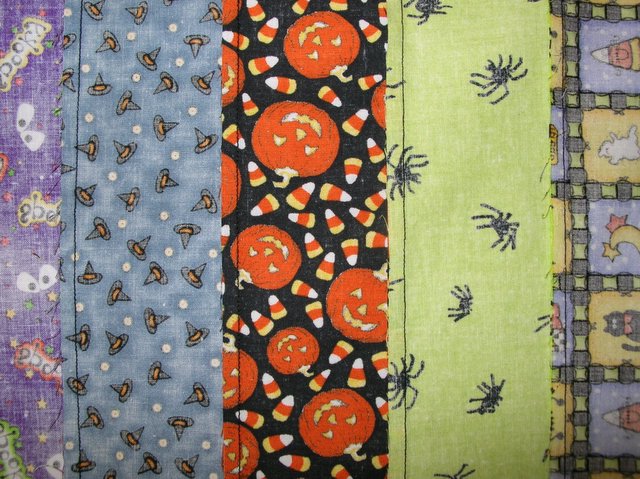
Step #2 - Arrange your strips in the order that pleases you.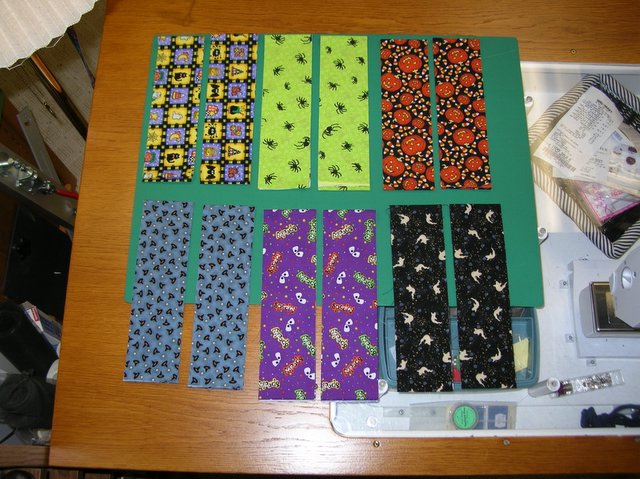
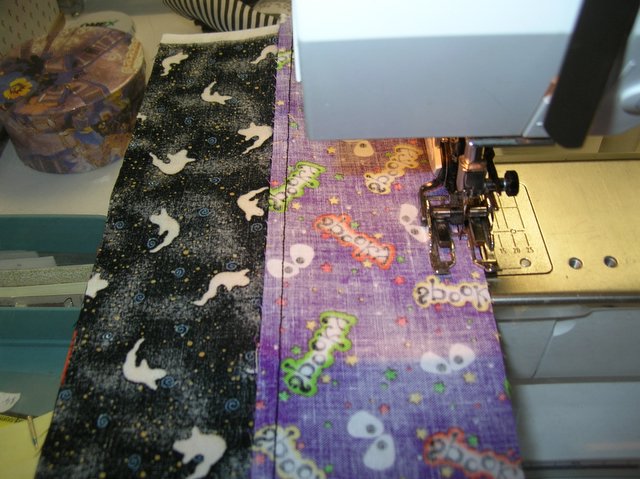
Step #3 - Sew your strips together in pairs in the order that they will appear in the strata.
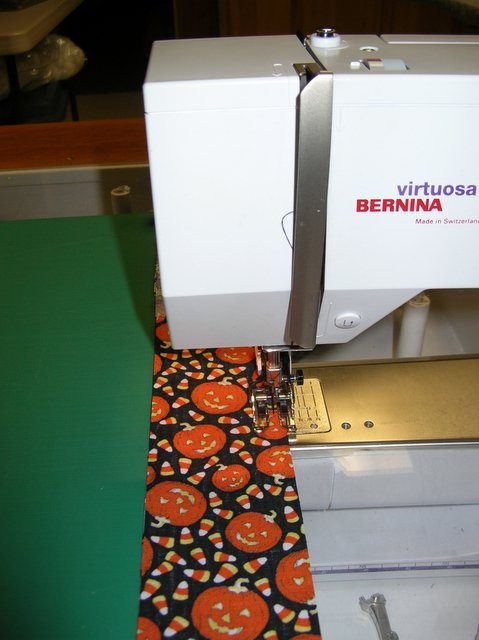
Step #4 - Press your strips as you sew. Remember to press, do not iron. Pressing is an up and down motion. You do not want to stretch or distort your strips. You want nice straight strips.

Step #5 - Sew two pairs of strips together. Then sew the 4 strip unit to the last pair of strips.
Step #6 - Remember to press all strips in the same direction--either all towards strip #1 or all towards strip #6. It doesn't matter which direction you press as long as all strips are pressed to the same direction. Be sure to press the second strata exactly as you have pressed this strata.
Step #7 - You should now have two stratas - each 6 strips wide, all pressed to the same direction.
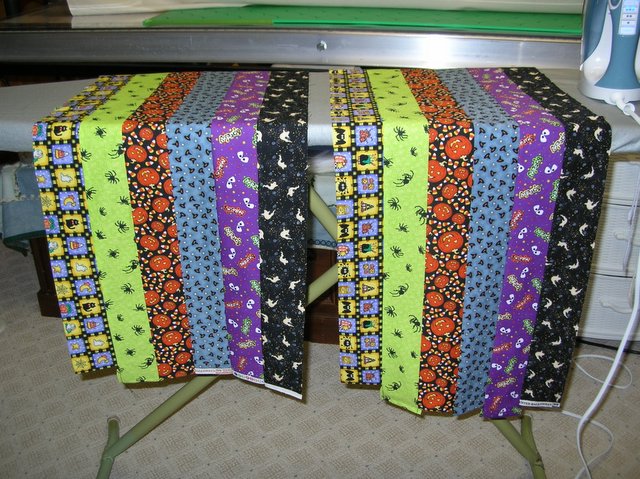
We will cut our stratas into our triangles in class together. If you bring your two stratas on November 7 we should be able to get your table topper completed to the flimsy stage.
We can still look, right? Good tutorial, Norma.
ReplyDeleteI am so exted about this tutorial. This is what I am talking about in my blog that I want to create. I just want to run into my stash and pull out fabrics but I know I shouldn't. :)
ReplyDeleteanother project to pull me away form the dishes :-)
ReplyDeleteI jusst love that table quilt. It's great for the Halloween candy. Great job, great instructions.
ReplyDelete