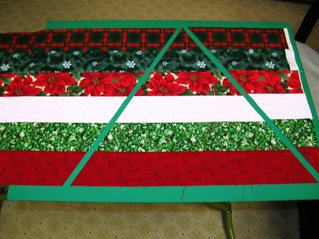
You should now have your two stratas -- 6 strips of fabric sewn together and seams pressed in the same direction.
The following instructions are for making a hexagon-shaped (6-sided) table topper. The angle for a hexagon shaped quilt is 60 degrees. If you would rather make an octagon-shaped table topper (8-sided), use a 45 degree angle.
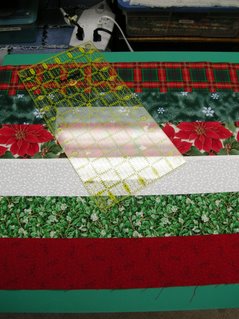
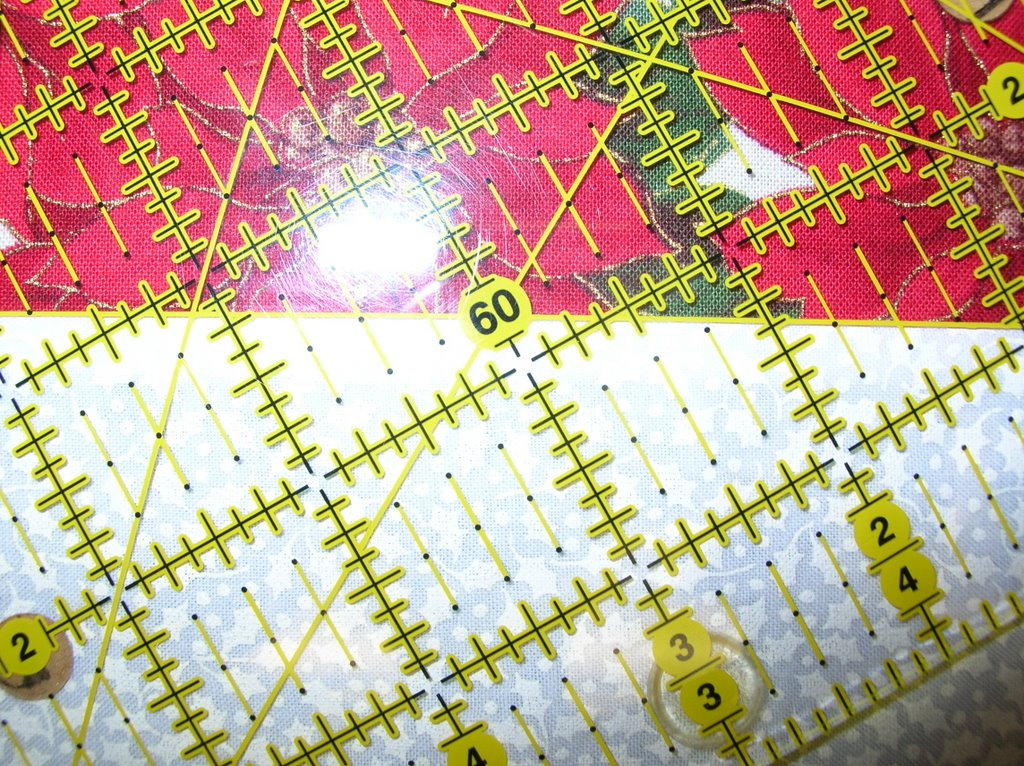
Lay one of your stratas on your cutting board and using a ruler with a 60 degree marking, lay the ruler on your strata so that the 60 degree line runs along one of the seams of your strata.
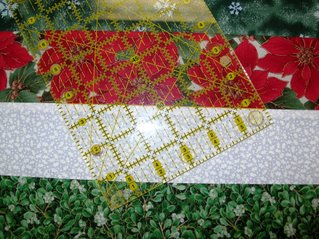
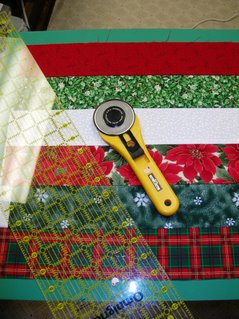
 This photo shows the two ruler method. The shorter ruler is marking the 60 degree angle in the middle of the strata and the longer ruler is butted up against it so that a continuous cut can be made across the strata.
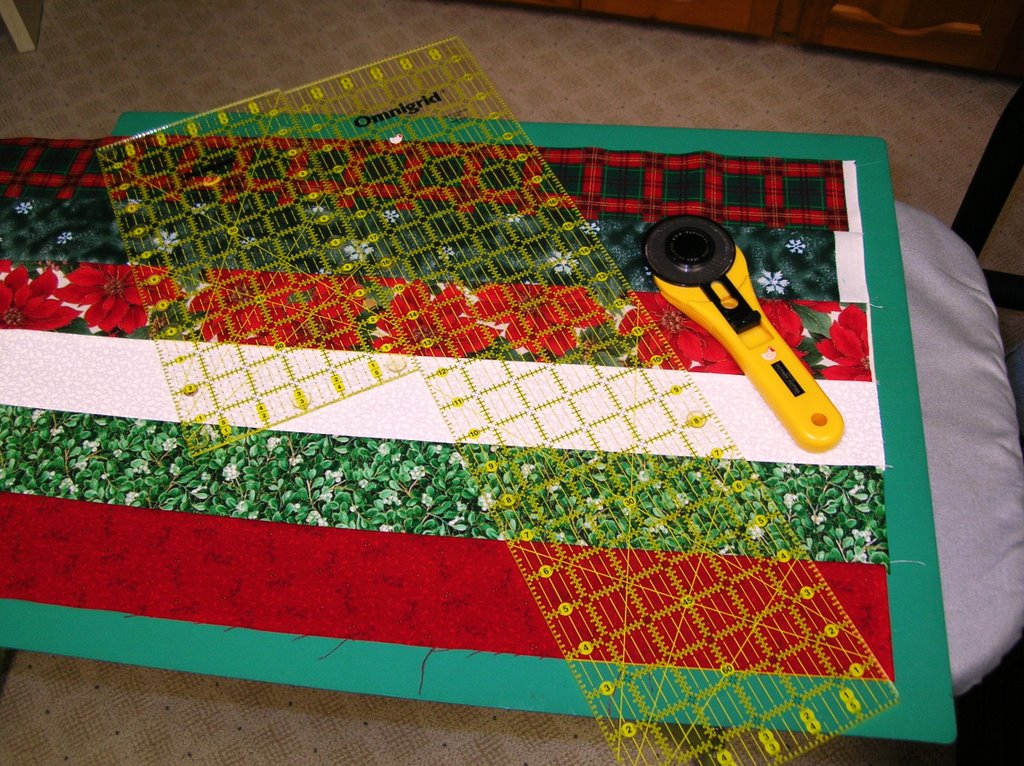 Alternatively, a special ruler made for cutting 60 degree angles can be used. I found this ruler to be more accurate than using the two straight rulers.
Once you are sure of where your 60 degree angle is, make your first cut--as close to the end of your strata strip as possible to maximize the use of your fabric.
 Reposition your ruler so that you can make the second cut and complete the triangle.
 Continue cutting triangles for the length of your strata. You should get three triangles out of one strata.
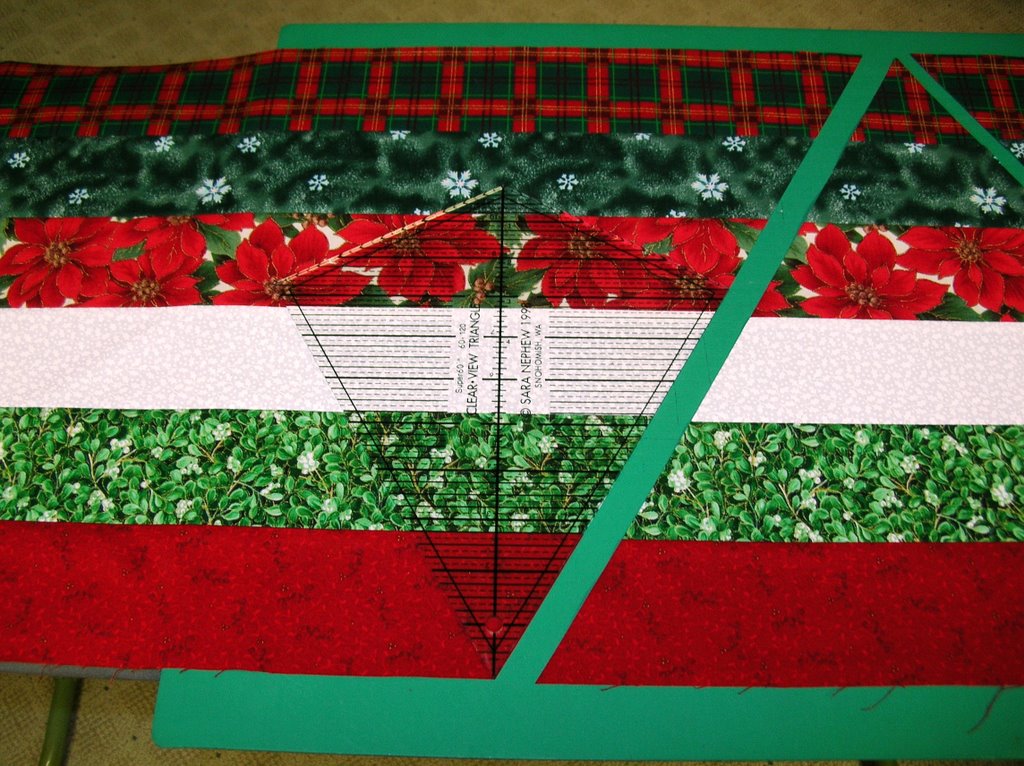
 In the next step you will be sewing two triangles together. Because you have pressed all seams in the same direction, the seams should nest together effortlessly.
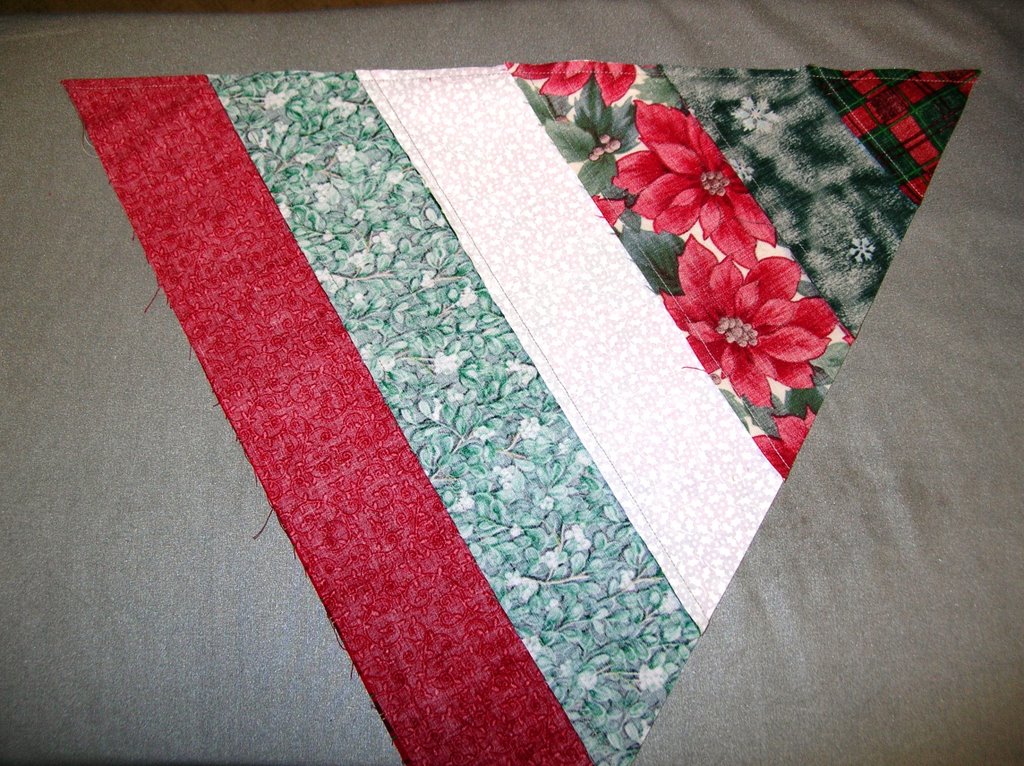 Pin at the seam intersections and sew from the large end of the triangle to the small end of the triangle.
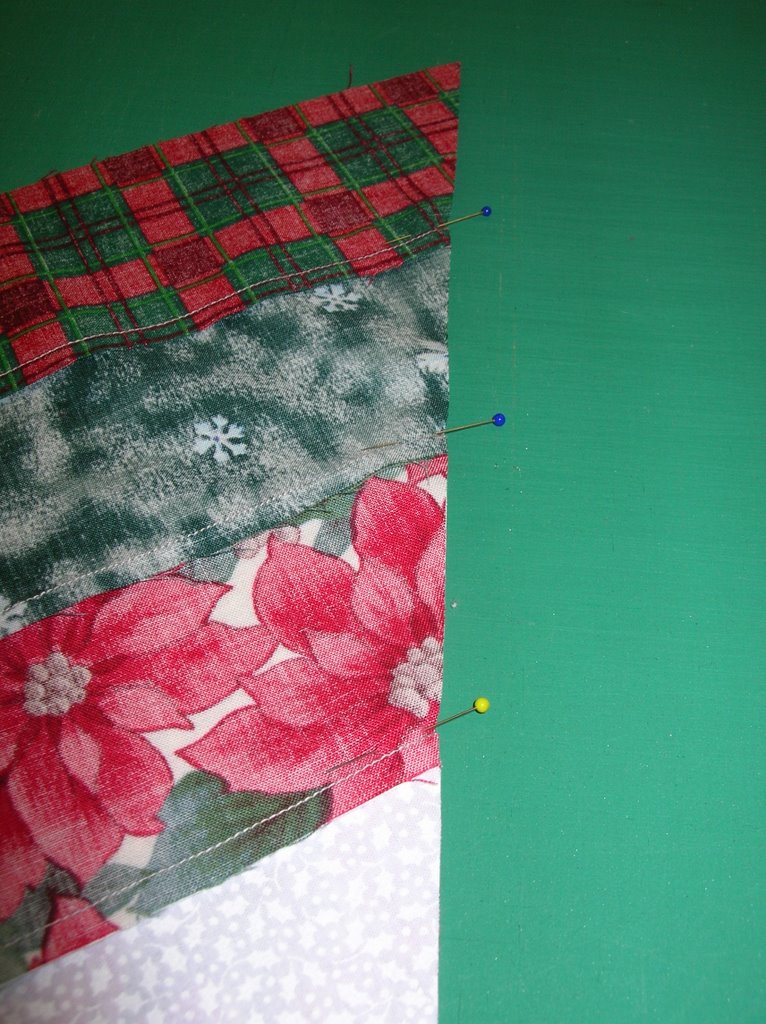 Press your seams open.
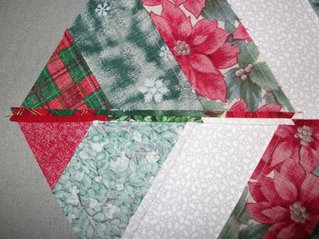
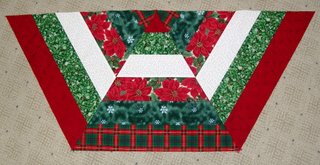
Once you have sewn two triangles together, sew one more triangle to this pair. Three triangles sewn together are half the project.
Cut the second strata as you did the first strata. The most important thing to note here is that what ever fabric was at the top of your cutting board in the first strata should now be at the bottom when you cut the second strata. Fabric #1 in the first strata becomes fabric #6 in the second strata.
You want two sets of three triangles with the same fabric in the "point" position. If this seems a little confusing, study the photo of the finished table topper in the next post.
No comments:
Post a Comment