

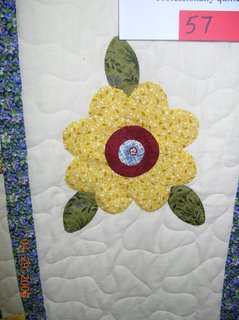
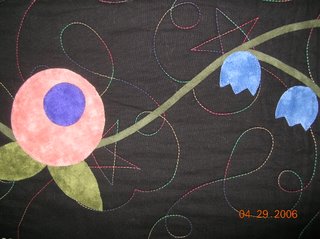
 The most interesting "piece" wasn't a quilt, but drew a lot of attention none the less. The entire piece was fabric - watering can and flowers. The water streaming from the watering can was made from beads.


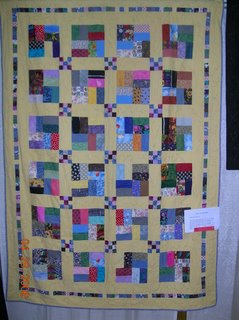
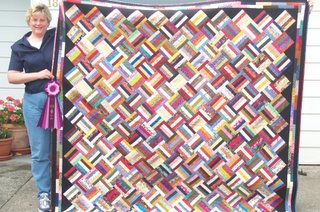
This quilt would be great for using up leftover strips. The story that went with this quilt indicated that the scraps were cut 2 1/2" x 4 1/2" and then traded with three other ladies. All the scraps were then stuck in a bag and pulled out randomly and sewn together.
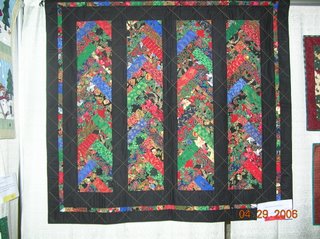
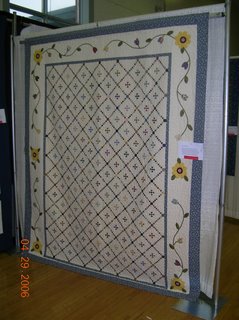
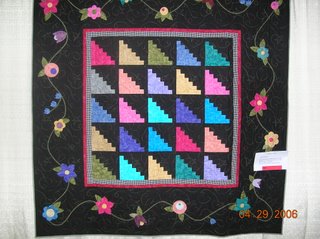
This quilt was a chevron which is great for using up scrap strips as well. The thing that really interested me about this one was the choice of quilting design used to finish it off. The quilting gives an optical illusion quality or secondary design to this quilt.
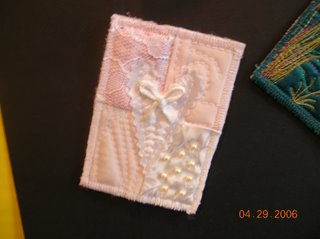 I copied the following information from the poster that was on display next to the ATCs.
"Swiss performance artist M. Vanci Stirnemann was the originator of the Artist Trading Card (ATC) phenomenon. On a visit to Canada for the Calgary Olympic Arts Festival in 1988 he noticed people swapping hockey cards. Nearly a decade later he made 1000 miniature works of art the same size as hockey cards and in April 1997 he displayed them in a Swiss book shop. Visitors asked if they could buy them but instead Stirnemann asked them to make their own cards and bring them in to swap".
Searching the internet, I found the following links about ATCs:
http://www.joycehartley.com/atcs.htm - Pictures of Joyce Hartley's Artist Trading Cards
http://www.artchixstudio.com/create/classroom/class_fabricatc.htm - Instructions on how to make your own Artist Trading Cards
http://cqmagonline.com/vol03iss02/articles/art258/index.shtml - An interesting article on ATCs
http://prettyimpressivestuff.com/blog/2006/04/fiber-artist-trading-cards.html - Blog reference to ATCs
I can hardly wait to try making some myself.


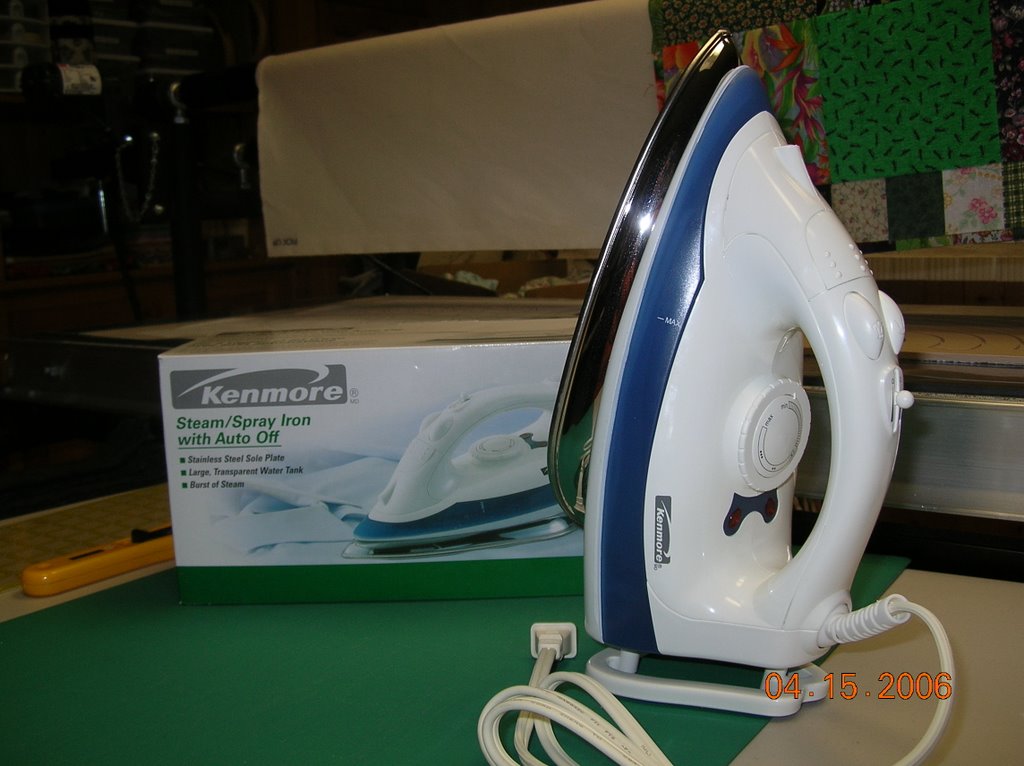 Yes, this is yet another new iron. The iron I purchased less than three weeks ago died last night. I returned it today and bought a new iron from Sears. Hopefully, this one lasts longer than 3 weeks! Back to quilting.
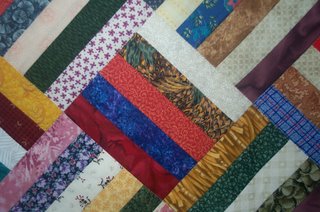
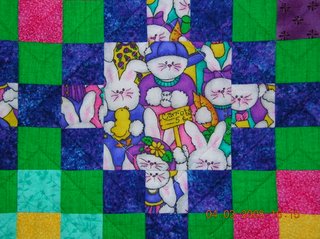
 This quilt was quilted quite simply on my Bernina- in the ditch around the perimeter of each block. This quilt pre-dated the purchase of my long arm so there was no fancy quilting on this one--just stitch it together enough to keep it functional.


 The little yellow birds - or goldfinches as they are properly known - are back.
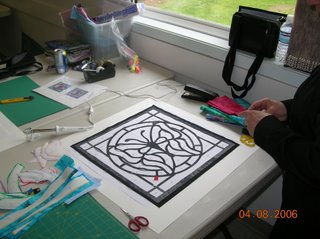
This is what the leading looks like when it is completely cut out and before the fabrics are added.
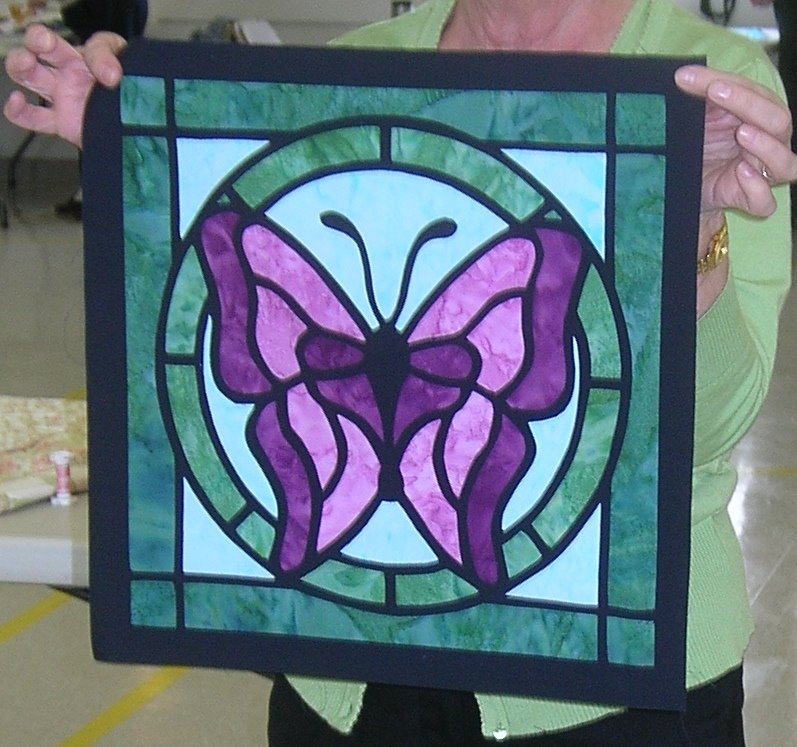
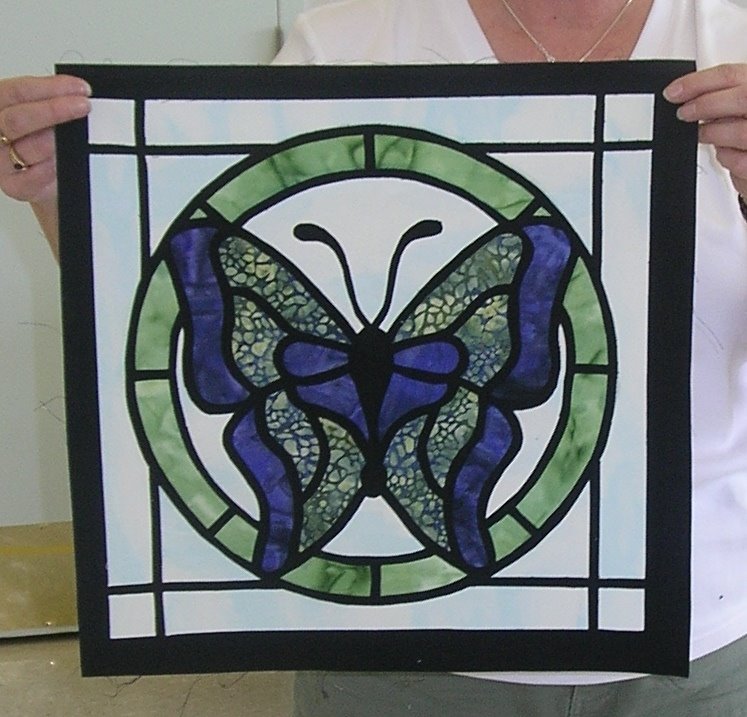
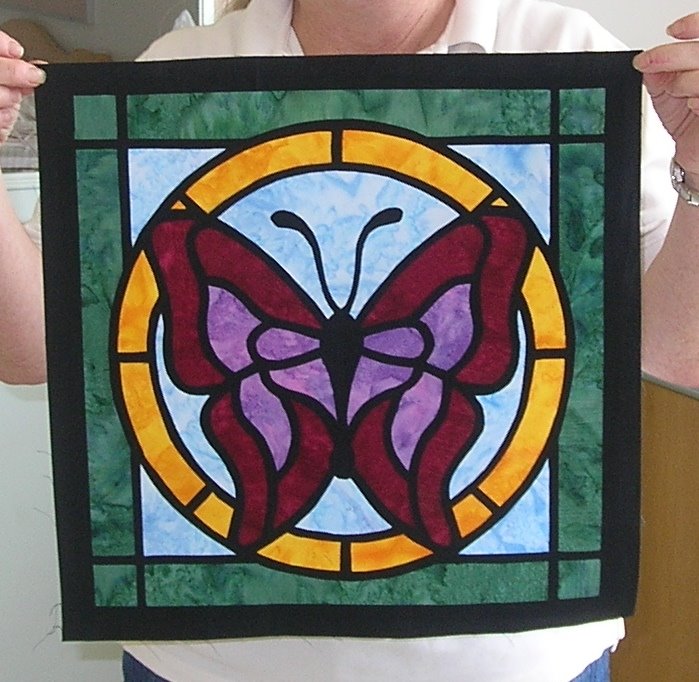
Here are the 4 butterflies finished in class today. Everyone's butterfly is a different colour, but they are all beautiful!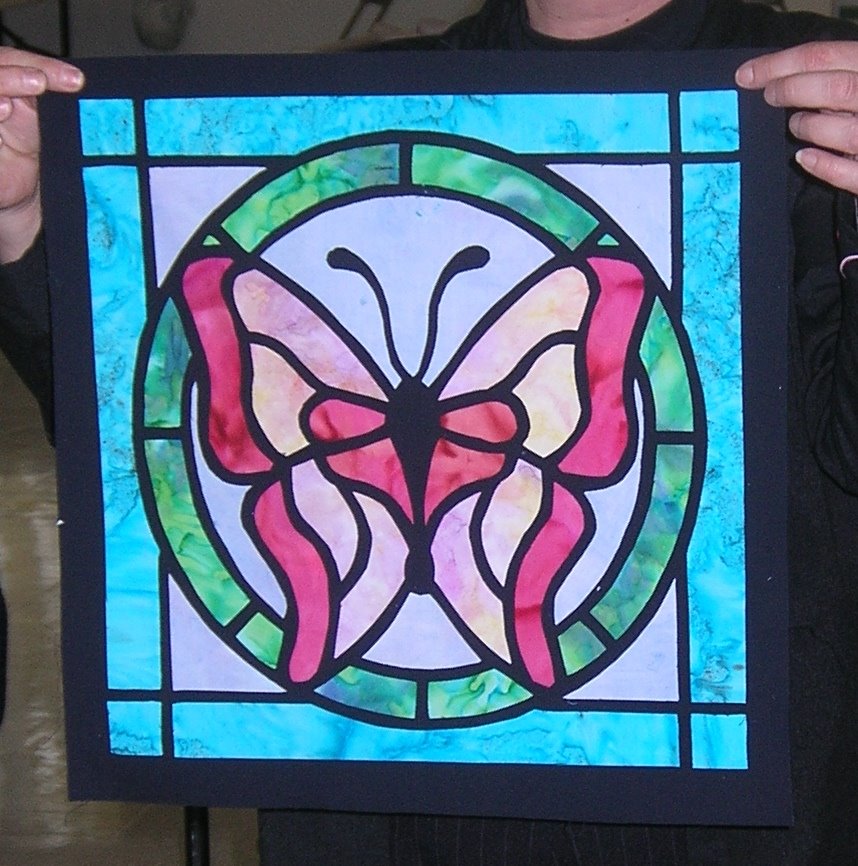
 I didn't manage to get my top finished in class. However, after getting home, I set up shop on the dining room table and managed to finish my butterfly by 8:30 tonight.
Here is my butterfly:
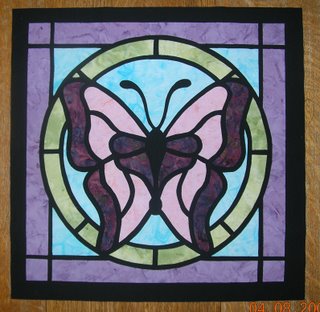 At this point the top is fused and there has been no sewing. I will be adding a three inch border to my butterfly before sandwiching with batting and backing before quilting. This is one of those projects where the stitching doubles as the quilting. Once the stitching is done to hold the leading in place, the project is complete.
By the way, I did substitute that dark purple for a different purple - not quite as dark. The substitute allowed for more contrast against the black leading.
These are my fabrics. The fabric on the far right looks black but it is really dark purple. I may end up trading it for something lighter as I am not sure that it will show up against the black leading in the stained glass technique.

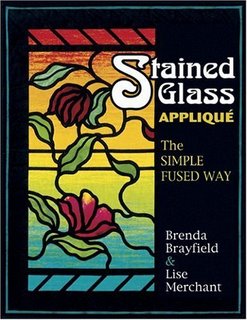
Brenda has authored a couple of quilt books, one of which is about stained glass applique.
 The rhubarb in my garden is really growing! My father-in-law used to call rhubarb, "spring tonic". I really look forward to that first feast of stewed rhubarb in the spring. It is such a treat.
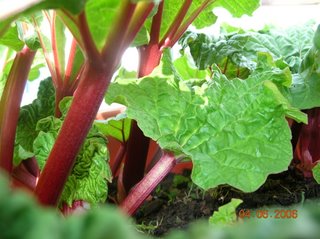

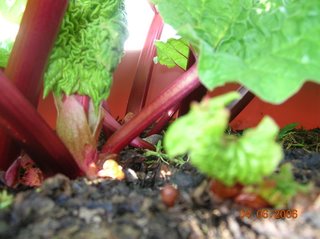
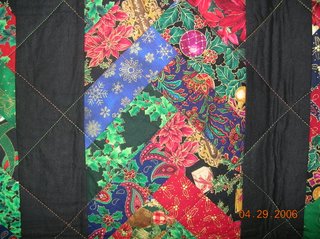
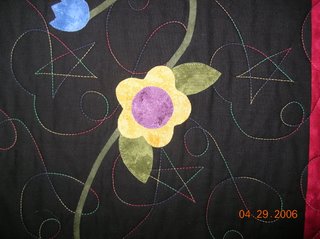
Aren't the textures and colours wonderful!